Published by Filipe Gracio, PhD – Client Engineer
I keep forgetting what I have in the freezer. Initially I utilized Google Sheets to monitor it, however I desired something that was simple to speak with and upgrade on my smart device. So I relied on AppSheet! Here’s a tutorial to follow to make a comparable tracking service.
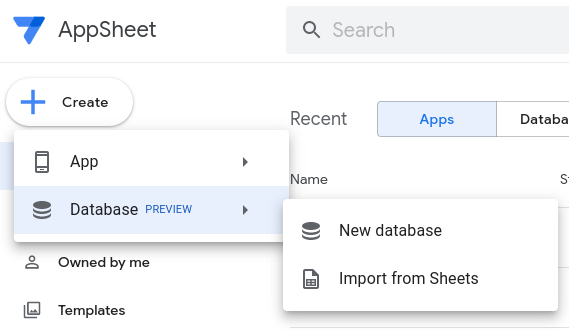
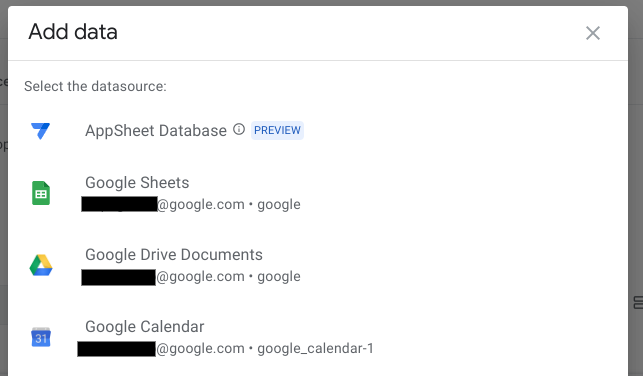
Producing the database
Very first I produced a database that imported my information from the Sheet:
 |
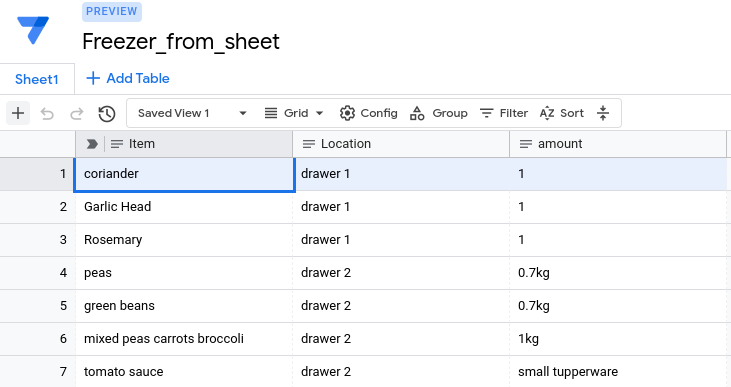
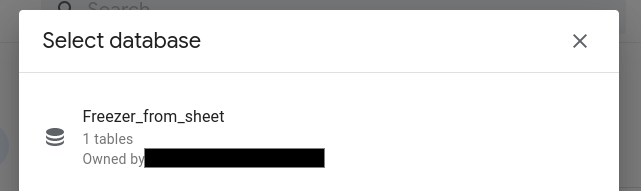
After I picked “Import from Sheets” and picked the sheet I was cumbersomely preserving, I get the sneak peek of the brand-new database:
 |
Producing the App
Then I can return and develop an App:
|
After I call it I can pick the database I simply produced.
 |
Then
 |
The App now begins getting produced, and after that I can begin tailoring it!
Personalizing the App:
I chose I wish to in fact include more details to the App. For instance, I wish to classify my products, so I require another column. I can modify the information for this and I’ll include a column “Classification”.
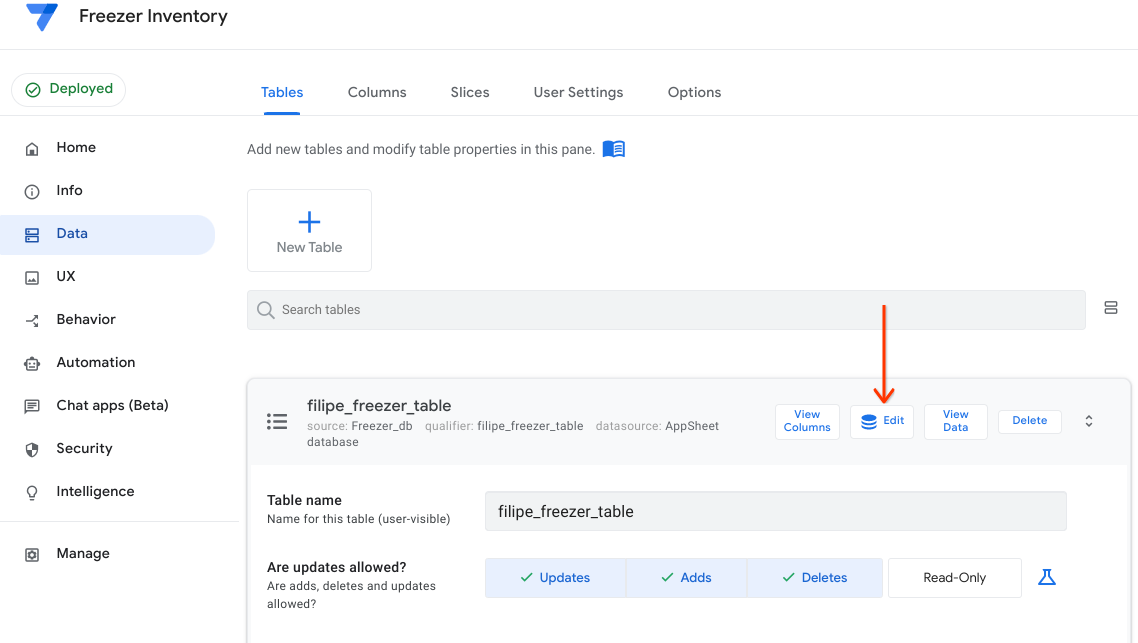 |
After including the additional column, this is the outcome:
 |
That’s going to can be found in useful later on for discussion and company!
Now let’s do some setup about how the products exist on the real app. That remains in the UX area of the App contractor. I wish to pick “Table”, Group by “classification” and after that sort alphabetically by “Product”
 |
After tweaking a couple of more alternatives in UX “Brand name” and “Format Rules”, this is how my app is looks:
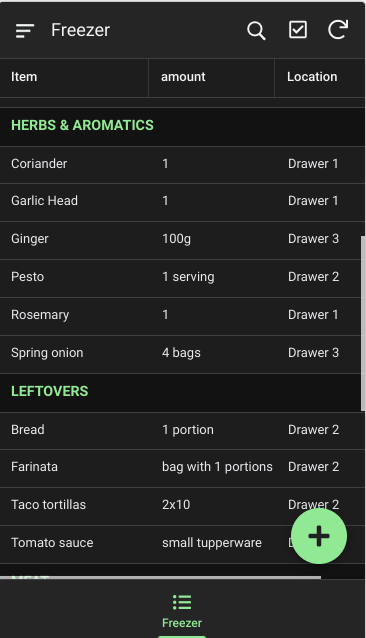 |
Utilizing the App – including and upgrading products.
Now, I can see what I have in the freezer at all times. If I prepare something and have a remaining, I can simply include it by clicking the + button. After that, I simply require to include the information:
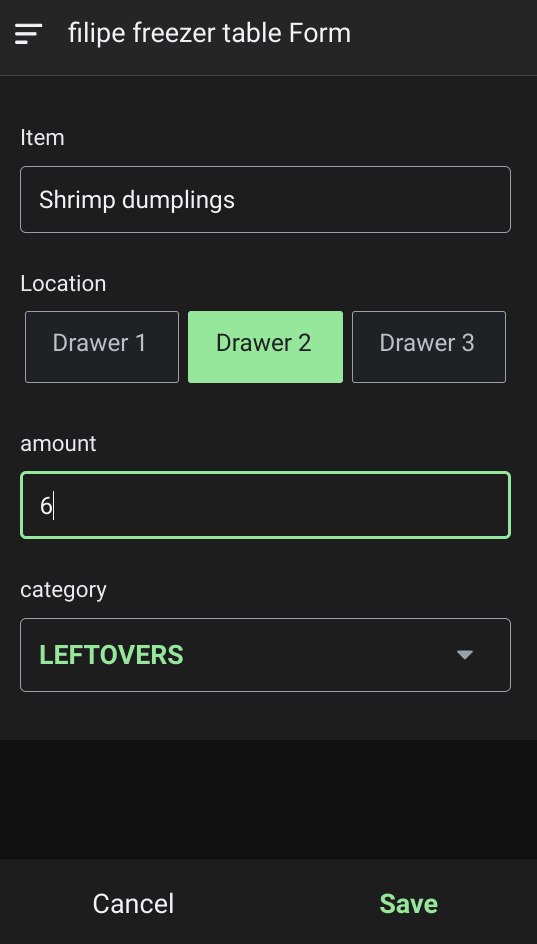 |
And obviously, if I utilize something I can simply tap on it to modify the quantity (or erase it).
Attempt it yourself!
This little App is something I utilize each week now! It is a lot easier than my old technique, plus I found out how to utilize AppSheet. And this was simply a rather easy usage case – which just touched the idea of the iceberg of AppSheet’s functions. If you work for companies that know to share and arrange, this innovation might be helpful for you.
Attempt it out on your own: you can utilize the total set of AppSheet functions at no charge while constructing one or lots of app models. You can likewise welcome approximately 10 test users at no charge to utilize your apps and share feedback.
Thank you to my coworker Florian Opitz, Client Engineer – Google Work Area + Security, for his helpful edits and recommendations.